Building a facebook messenger clone in Django
Welcome, You are about to start your journey to learn how to use django channels to build realtime web applications in Django. The tutorial proceeds to do the app in 4 parts with each part done in a number of chapters.
- Implement the backend in django
- Build the frontend using Jinja templates in django
- Build an angular 2 frontend applications
- Build an ionic app for the same implementation
In this first chapter, we are going to setup a simple django app and build our development environment. By the end of this chapter, you are going to have a simple Django web application running on your computer!
For your reference, below is a list of the articles in this tutorial. The first part focuses on building the django app and implementing the frontend using django as a full stack application.
Part One
- Chapter 1 : Hello world, this article
- Chapter 2 : Setting up django channels and understanding its simple components
- Chapter 3 : Designing the schema for our application
- Chapter 4 : Implementing django channels for our application
- Chapter 5 : Building our frontend application using tailwindcss
- Chapter 6 : Implementing full functionality for our backend and frontend application
In part two, we build a stand-alone Angular 2 application based on the ui we designed in part one. Our standalone application will use the django application defined in part one.</br>
Part Two
- Chapter 7: Building the skeleton for our angular application
- Chapter 8: Building in authentication mechanism for our frontend
- Chapter 9: Wire up the frontend application to use the django backend
In part Three, we build an ionic application to implement the messenger app as an android application. We choose ionic for this as to keep up with the angular theme.
Part Three
- Chapter 10: Building skeleton for the ionic android application
- Chapter 11: Designing the look and feel of the ionic app
- Chapter 12: Implement the functionality of The chat application
At the end of this tutorial, we intend to learn Django, Django Channels, Angular and Ionic to be able to implement a full stack sample app.
All the code examples presented in this tutorial are hosted on a GitHub repository. Downloading the code from GitHub can save you a lot of typing, but I strongly recommend that you type the code yourself, at least for the first few chapters. Once you become more familiar with Django and the tools we will be using for this application, you can access the code directly from GitHub if the typing becomes too tedious. The link to the codebase can be found here Chat
Installing Python
If you don’t have Python installed on your computer, go ahead and install it now. If your operating system does not provide you with a Python package, you can download an installer from the Python official website. If you are using Microsoft Windows along with WSL or Cygwin, note that you will not be using the Windows native version of Python, but a Unix-friendly version that you need to obtain from Ubuntu (if you are using WSL) or from Cygwin.
Installing Django
The next step is to install Django, but before I go into that I want to tell you about the best practices associated with installing Python packages.
In Python, packages such as Django are available in a public repository, from where anybody can download them and install them. The official Python package repository is called PyPI, which stands for Python Package Index (some people also refer to this repository as the “cheese shop”). Installing a package from PyPI is very simple, because Python comes with a tool called pip that does this work (in Python 2.7 pip does not come bundled with Python and needs to be installed separately).
To install a package on your machine, you use pip as follows:
$ pip install django
Interestingly, this method of installing packages will not work in most cases. If your Python interpreter was installed globally for all the users of your computer, chances are your regular user account is not going to have permission to make modifications to it, so the only way to make the command above work is to run it from an administrator account. But even without that complication, consider what happens when you install a package as above. The pip tool is going to download the package from PyPI, and then add it to your Python installation. From that point on, every Python script that you have on your system will have access to this package. Imagine a situation where you have completed a web application using version 0.11 of Django, which was the most current version of Django when you started, but now has been superseeded by version 0.12. You now want to start a second application, for which you’d like to use the 0.12 version, but if you replace the 0.11 version that you have installed you risk breaking your older application. Do you see the problem? It would be ideal if it was possible to install Django 0.11 to be used by your old application, and also install Django 0.12 for your new one.
To address the issue of maintaining different versions of packages for different applications, Python uses the concept of virtual environments. A virtual environment is a complete copy of the Python interpreter. When you install packages in a virtual environment, the system-wide Python interpreter is not affected, only the copy is. So the solution to have complete freedom to install any versions of your packages for each application is to use a different virtual environment for each application. Virtual environments have the added benefit that they are owned by the user who creates them, so they do not require an administrator account.
Let’s start by creating a directory where the project will live. I’m going to call this directory chat, since that is the name of the application:
$ mkdir chat
$ cd chat
virtual environment support is included in your python environment, so all you need to do to create one is this:
python -m venv venv
With this command, I’m asking Python to run the venv package, which creates a virtual environment named venv. The first venv in the command is the name of the Python virtual environment package, and the second is the virtual environment name that I’m going to use for this particular environment. If you find this confusing, you can replace the second venv with a different name that you want to assign to your virtual environment. In general I create my virtual environments with the name venv in the project directory, so whenever I cd into a project I find its corresponding virtual environment.
To activate your brand new virtual environment you use the following command:
$ source venv/bin/activate
Now that you have a virtual environment created and activated, you can finally install Django in it:
(venv) $ pip install Django
A “Starter” Django Application
Now that we have Django installed, we can start a sample django application:
$ django-admin startproject chat
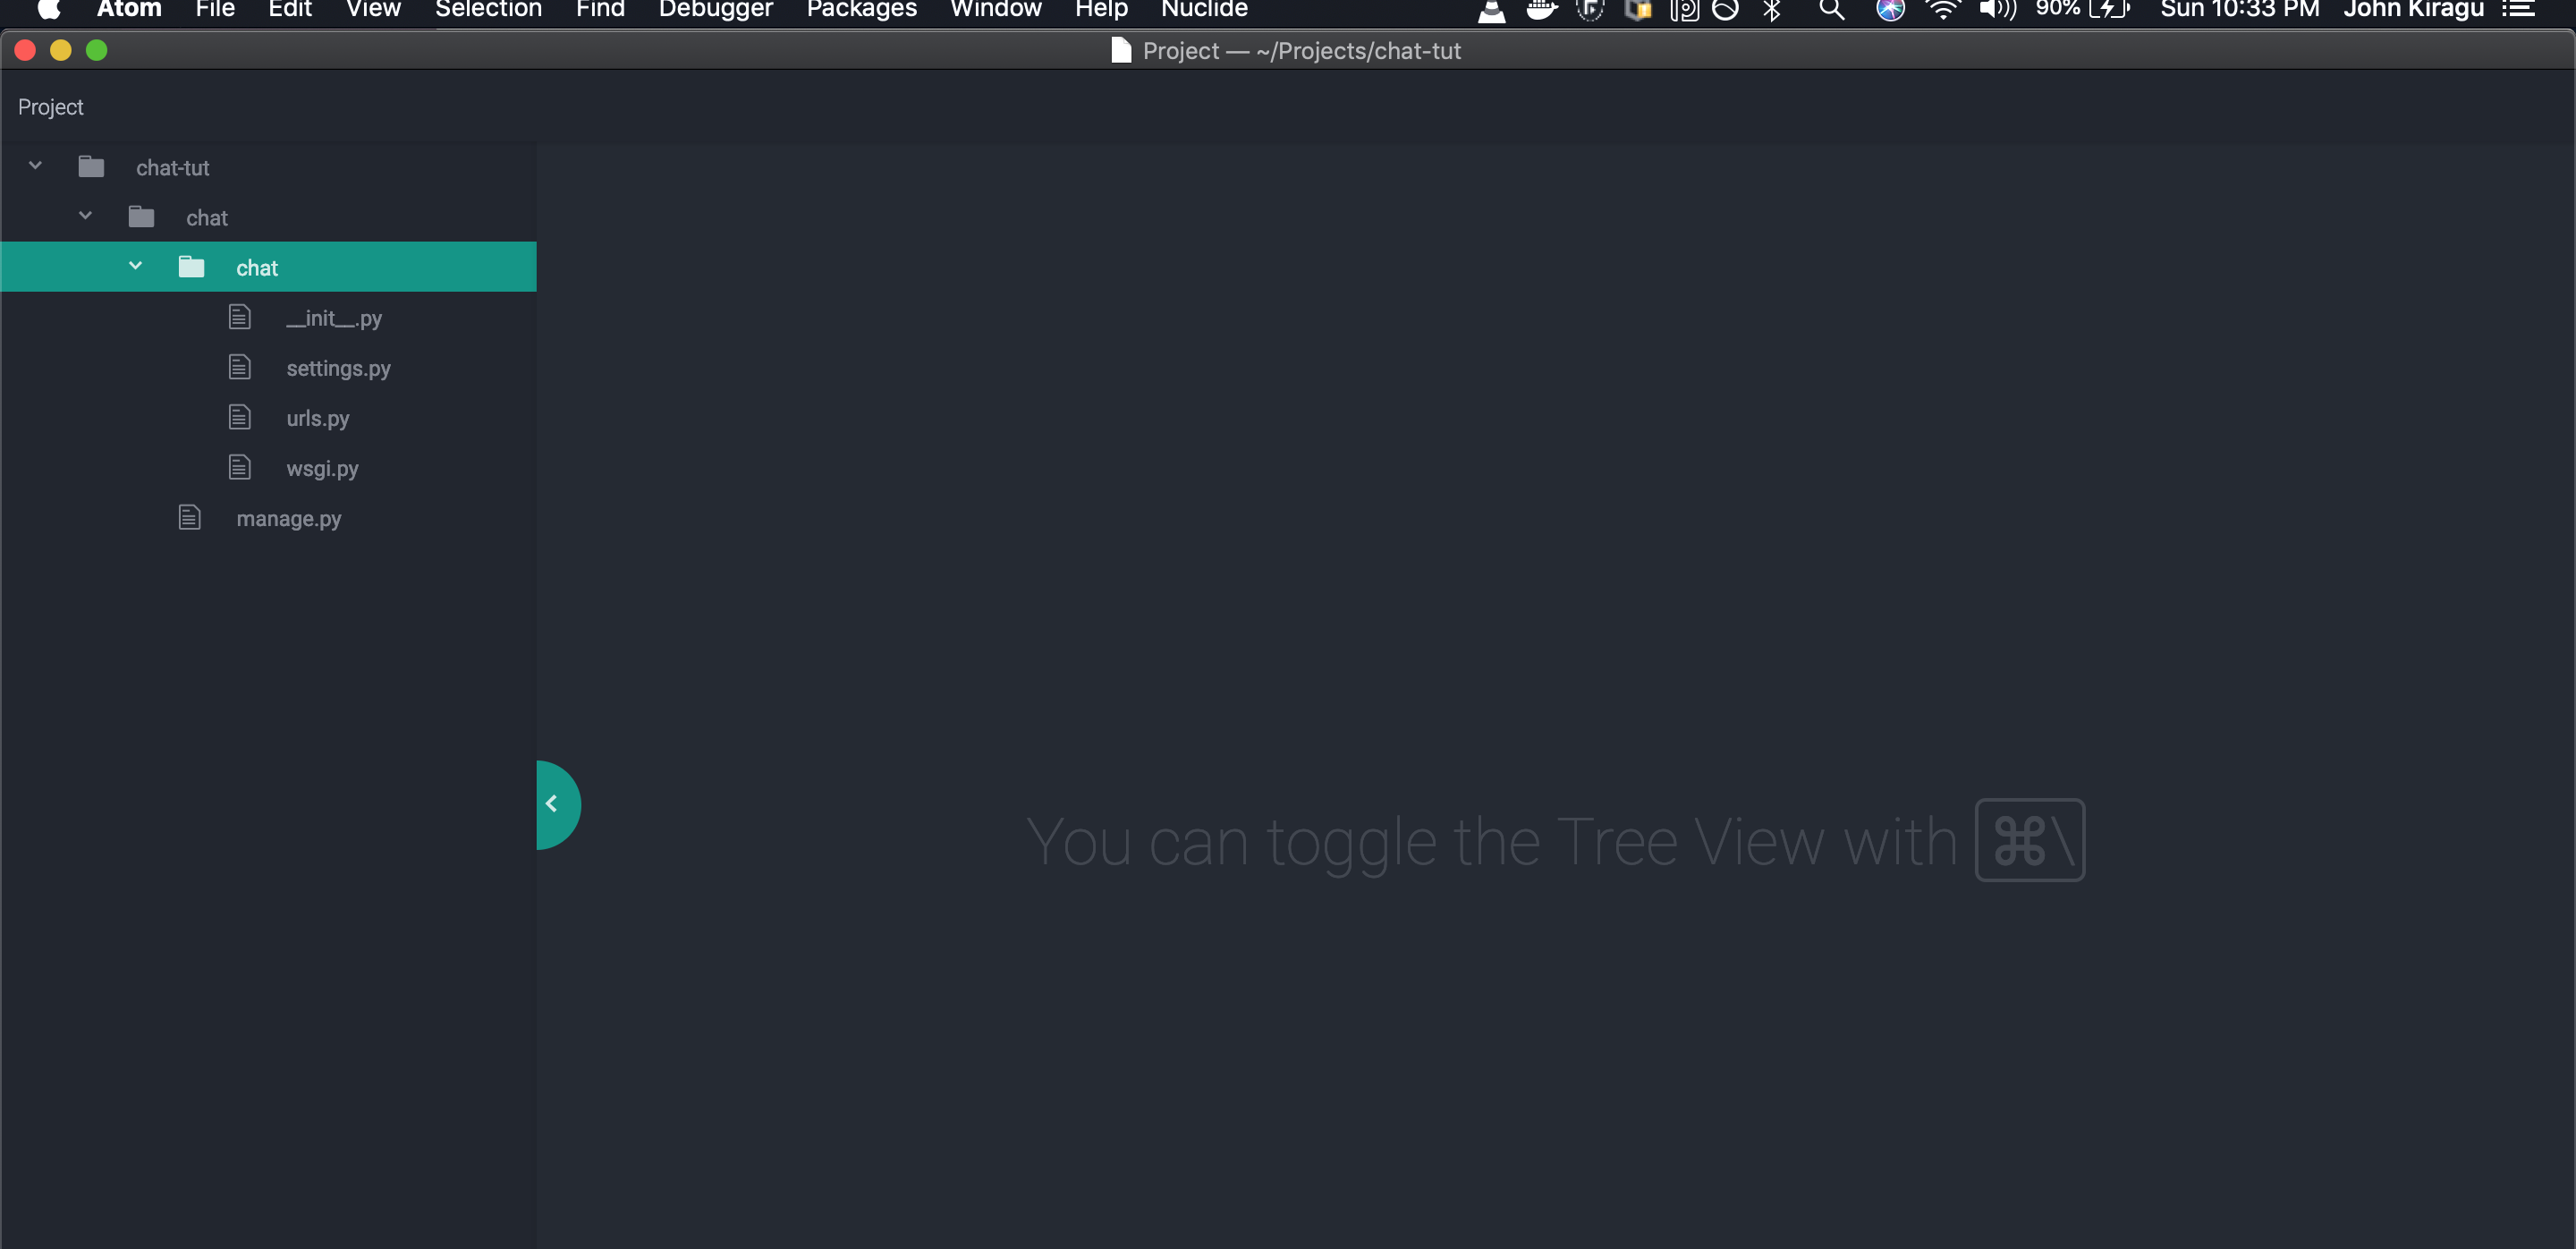
This creates a project with the directory structure shown below:
Are you ready to be blown away? You can run your first web application, with the following command:
(venv) $ python manage.py runserver
Django version 2.2.4, using settings 'chat.settings'
Starting development server at http://127.0.0.1:8000/
Quit the server with CONTROL-C.
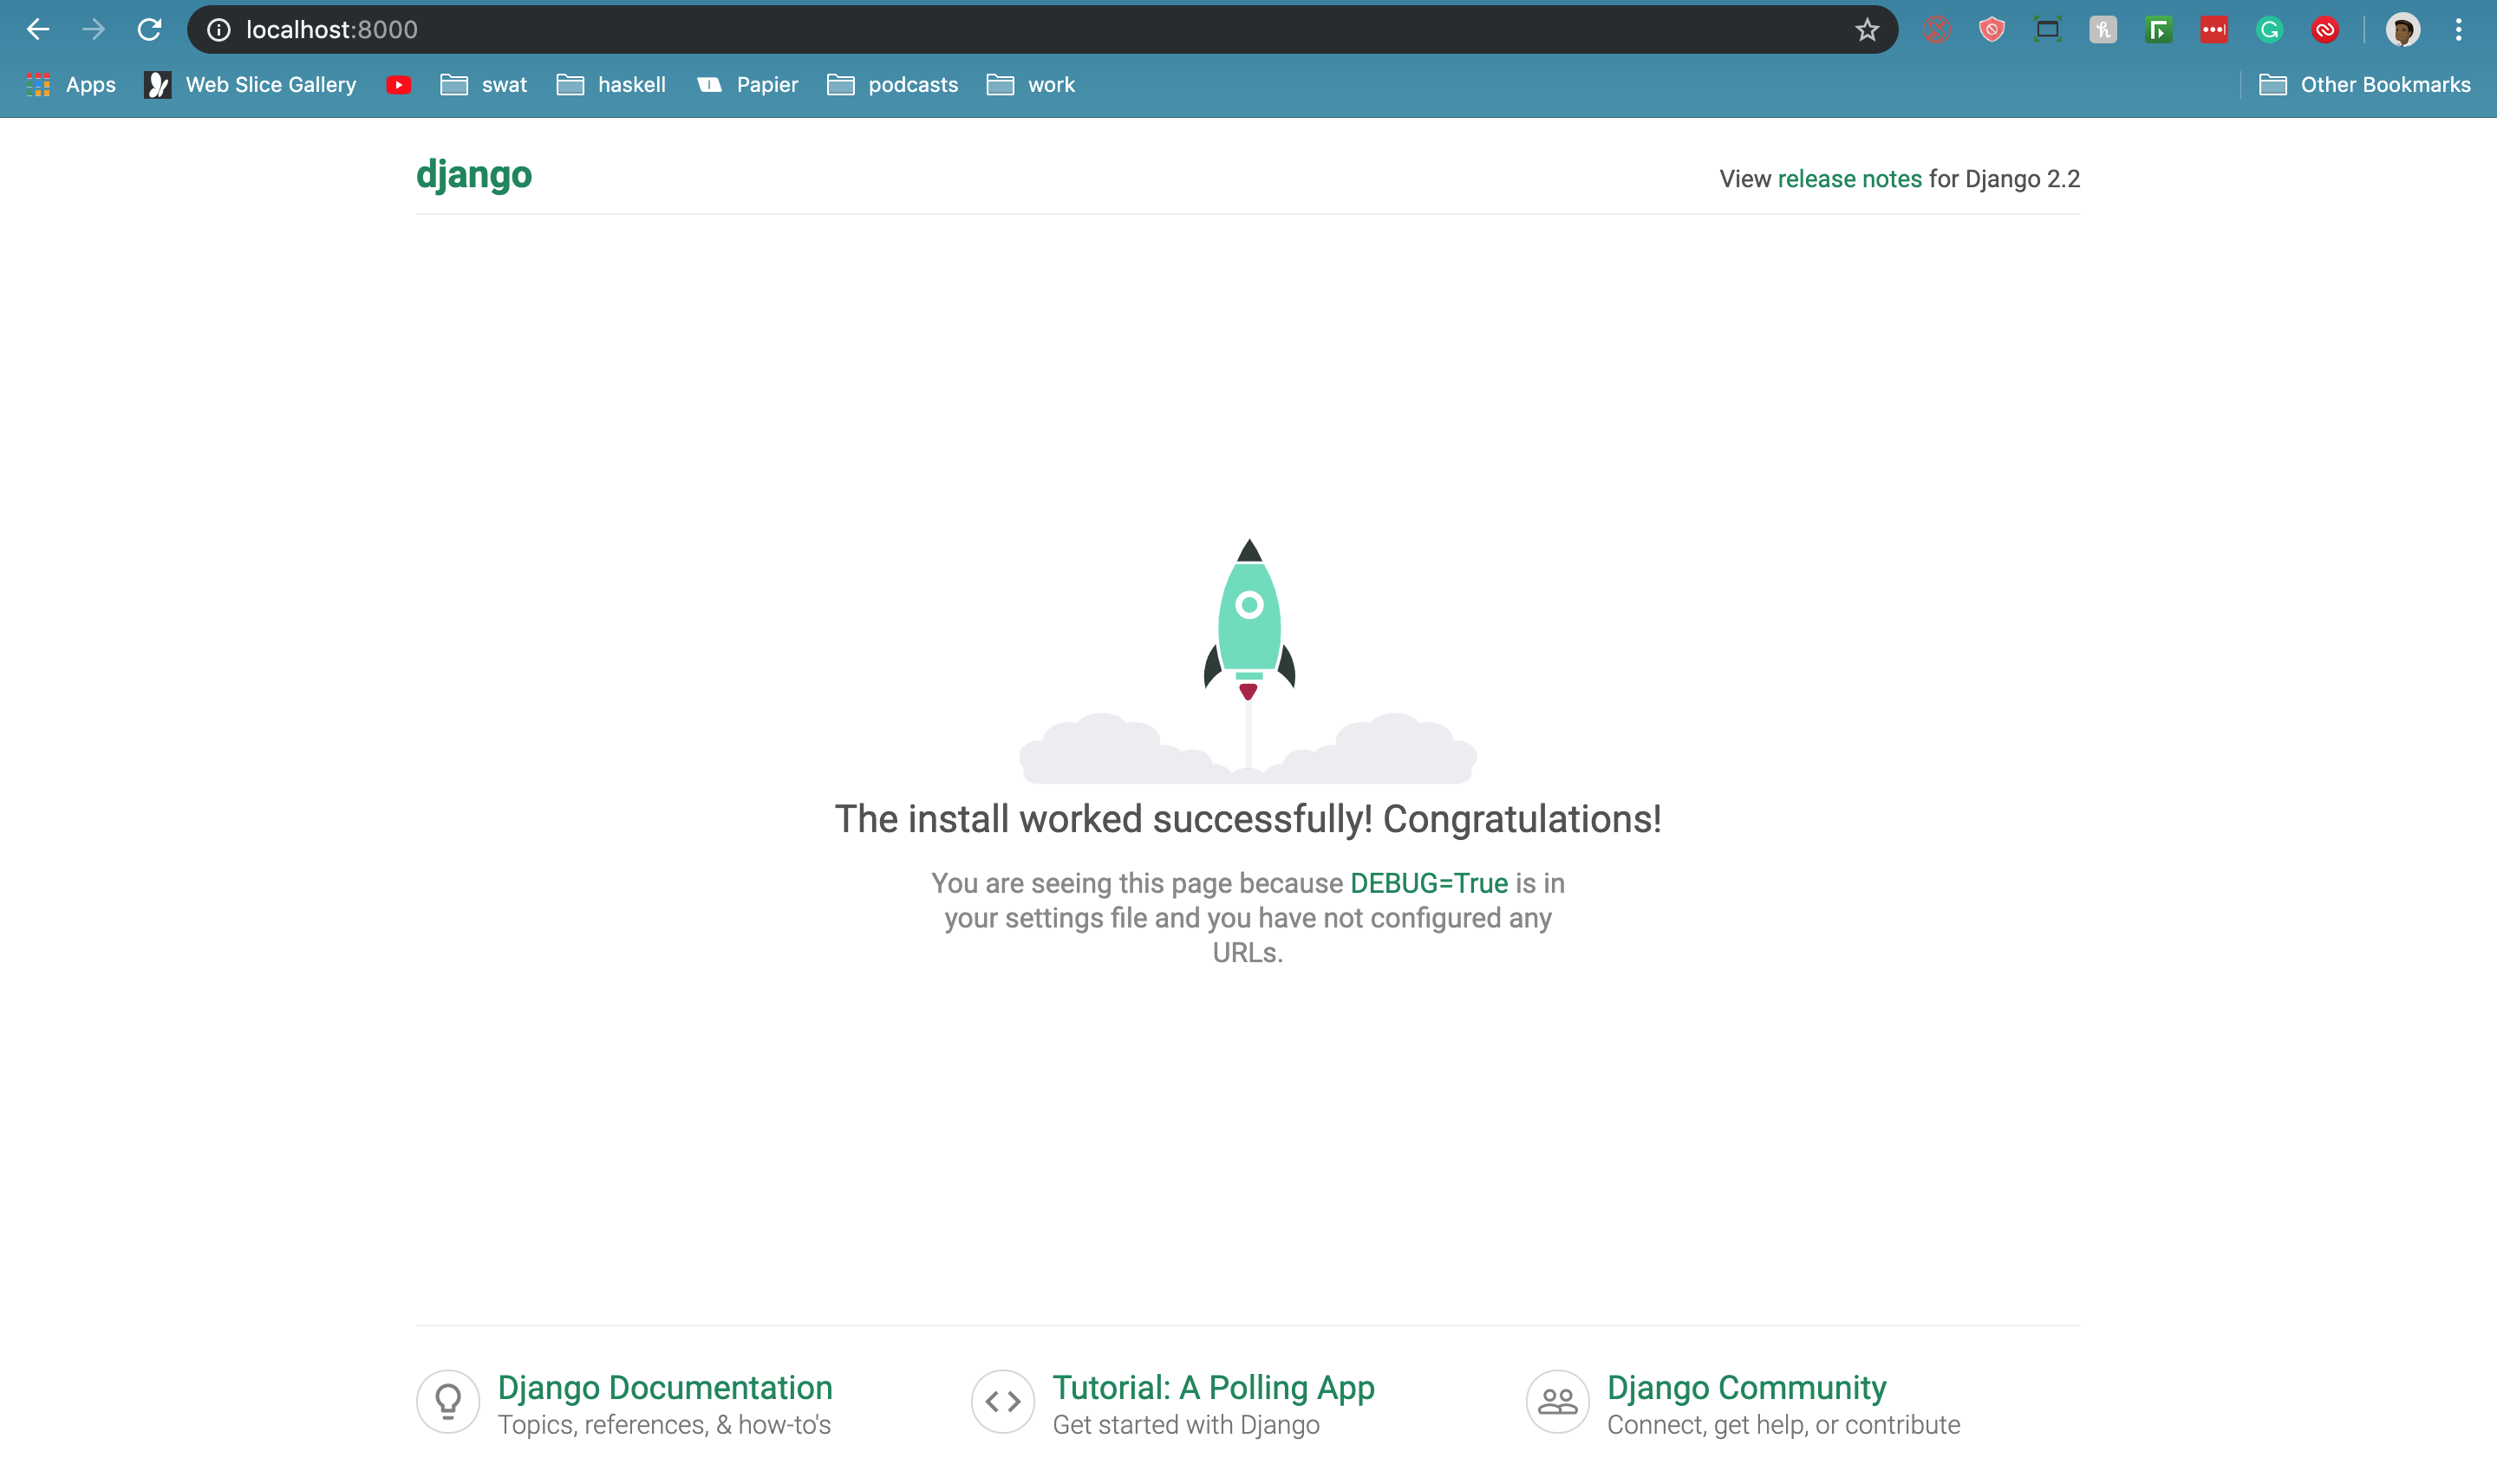
Naviagating to http://127.0.0.1:8000/ we are greeted by our simple web application